
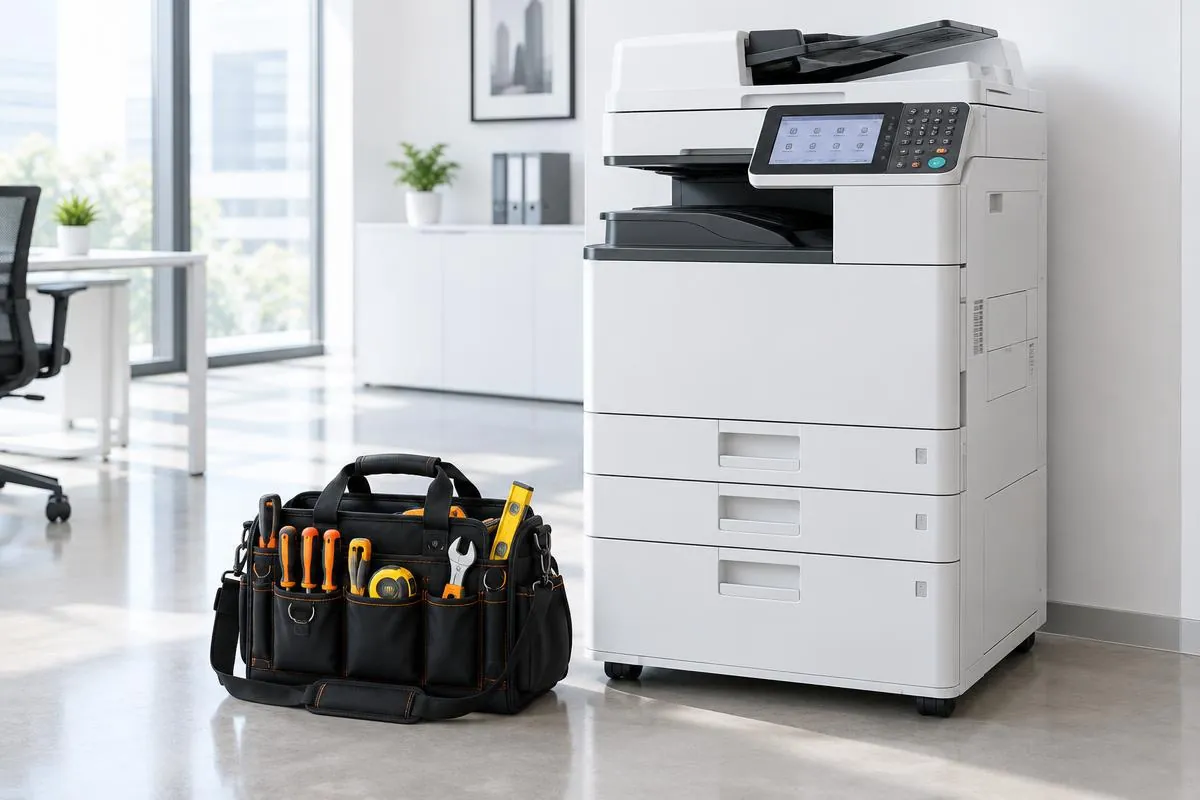
How it works
From a service call to a recorded visit.
See how the office, the engineer, your customer and their printer work from the same job, from the first fault to the paid invoice.
Watch a whole job, start to finish.
The full walkthrough in under two minutes: the call comes in, the engineer does the work on the phone, the office checks it and the invoice goes out.
The five steps of a service job
Step 1: Log the fault.
Create the job with the customer, site, machine and reported problem, or let it arrive on its own.
The office picks the customer and machine, chooses the job type and records the fault in the customer’s words. Faults also arrive from the customer portal, the QR label on the machine, or from a monitored printer that reports an error code. The response time is set from your working hours.
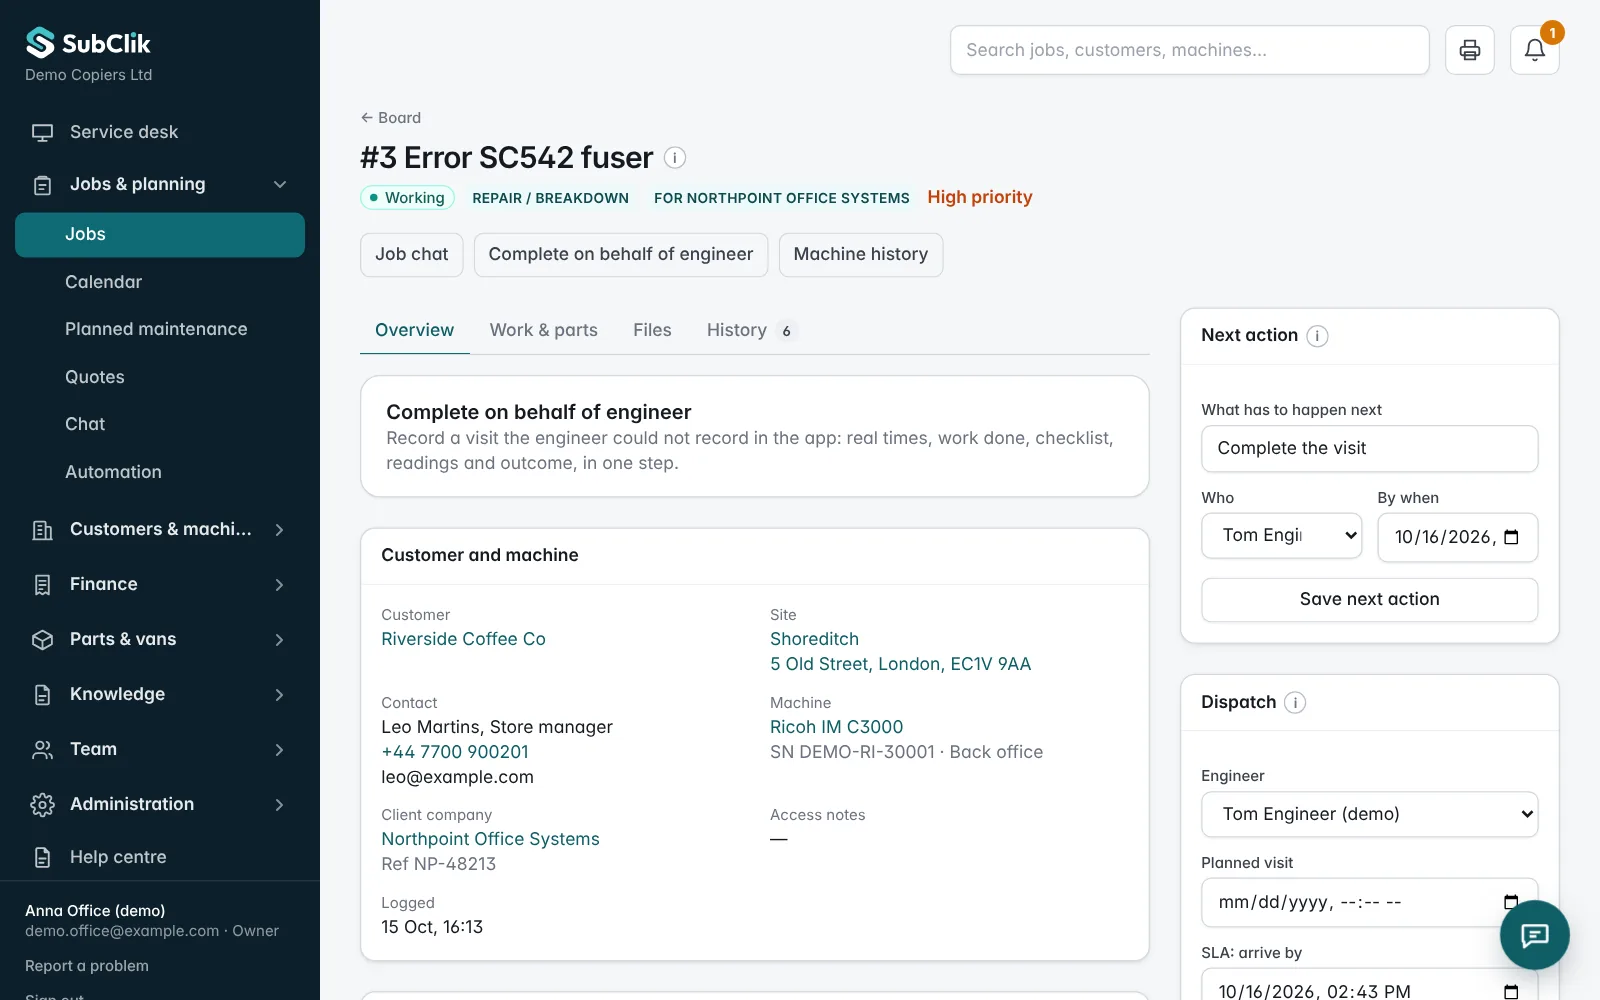
One job record: fault, machine, recorded time, parts and readings. Step 2: Assign the engineer.
Allocate the visit and make the job details available to the assigned engineer.
The job appears in the engineer’s list straight away, with the site, contact and machine details, and the planned time if one was set.
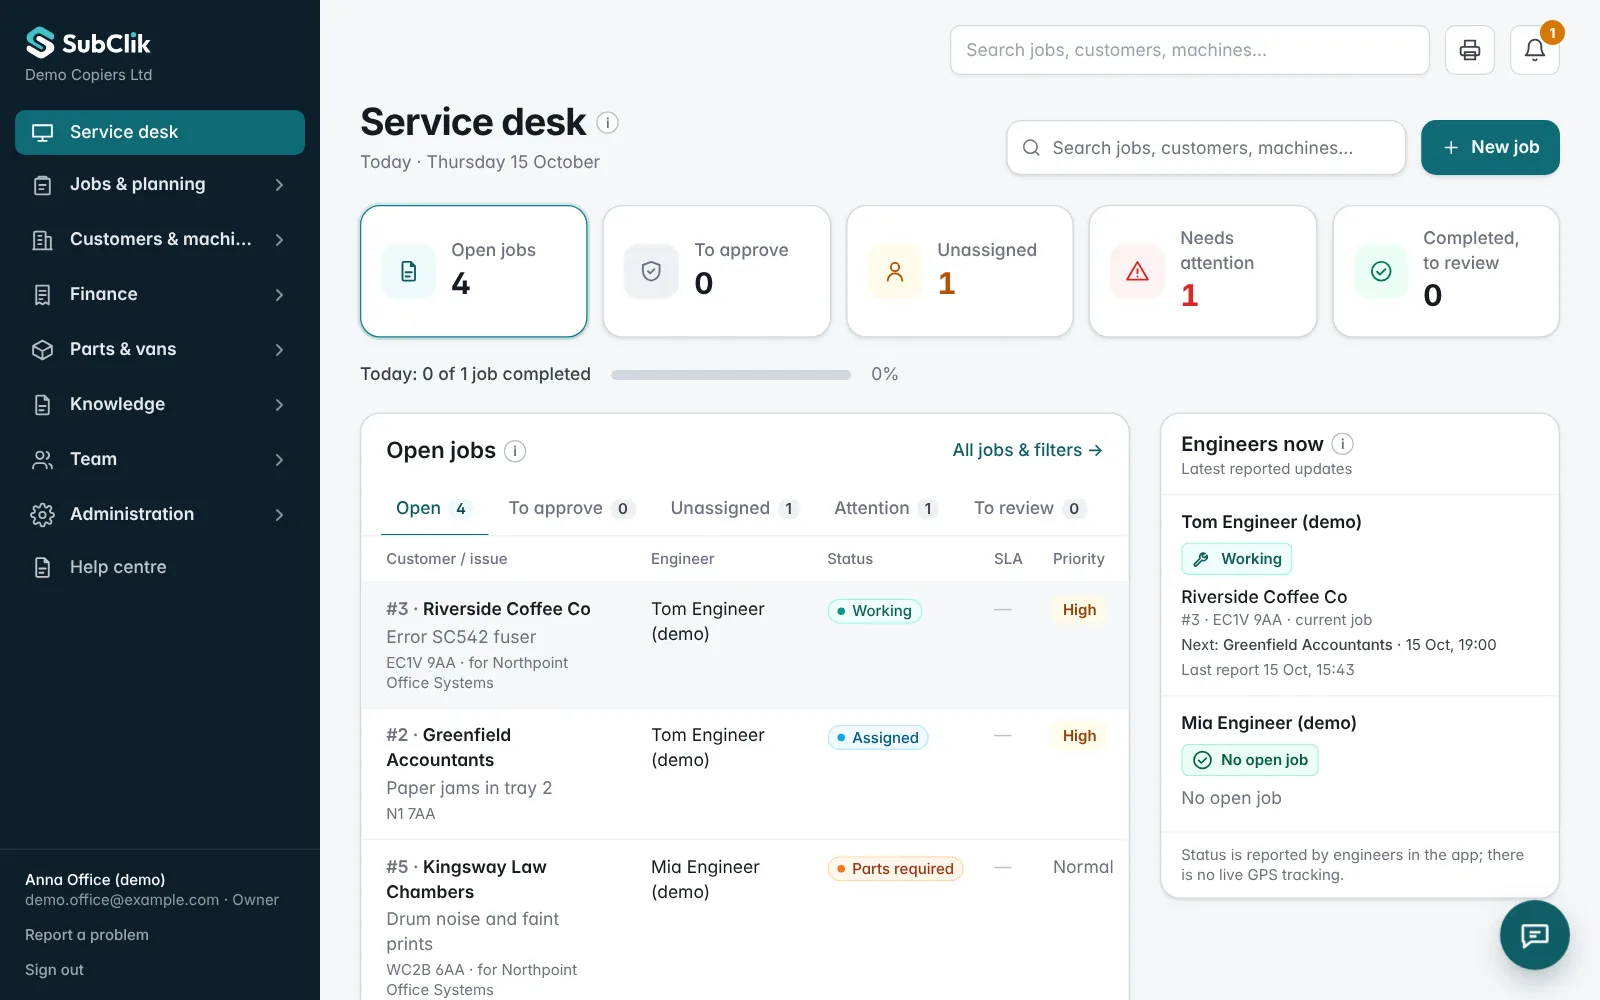
Service desk: open jobs, status and the engineer on each one. Step 3: Record the visit.
Add the work carried out, time, parts, readings and supported service evidence.
Before setting off, the engineer can see what fixed the same error code before. On site the job moves through travelling, on site and working; time is recorded from those steps, even without signal. Parts, meter readings, photos, checklist answers and the customer’s signature are added to the same job, and the customer gets a PDF job sheet.
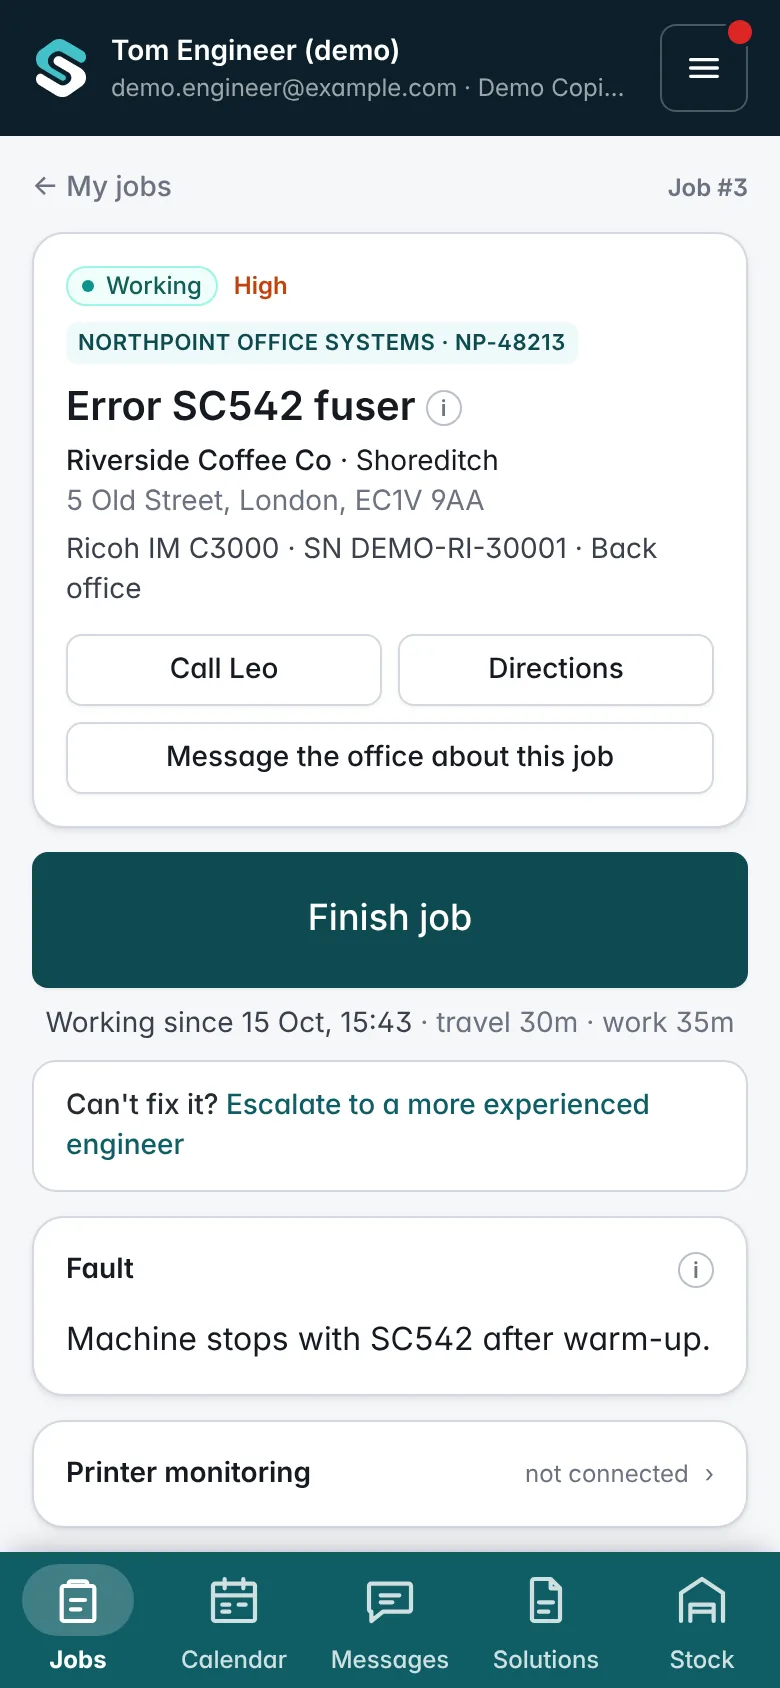
An open job: site, machine and the next step. Step 4: Review the work.
The office checks the completed record and follows up anything still needed.
Completed visits wait for review. The office can close the job, send it back with a reason, or order parts and book a return visit.
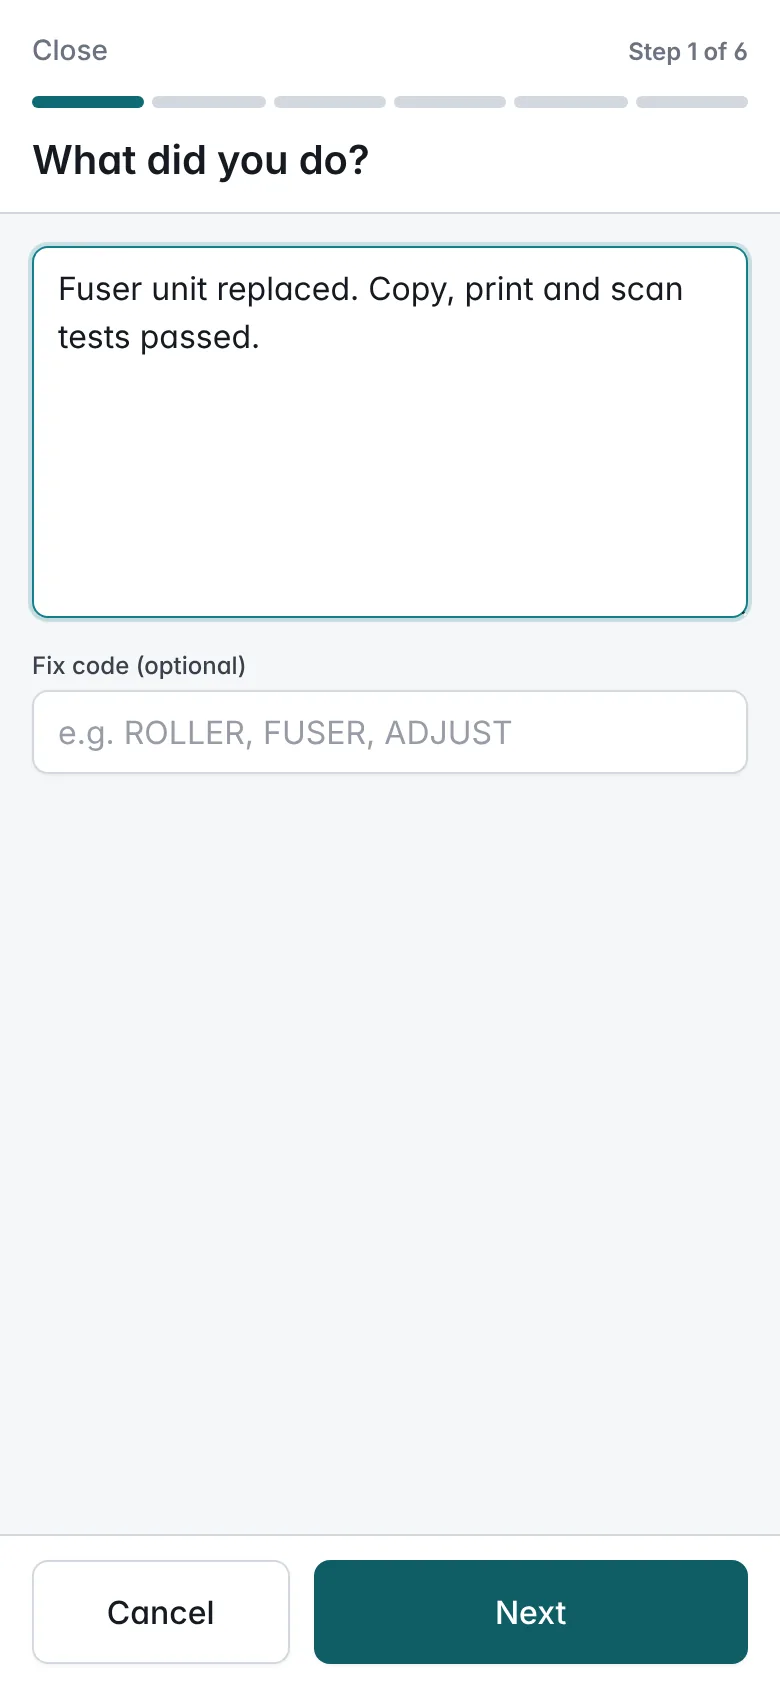
Finishing a visit: six short steps, from work done to sign-off. Step 5: Invoice and get paid.
Turn the recorded work into charges and an invoice, and keep your accounts in step.
Recorded labour, parts and fixed-price services become the job’s charges, using the rates that applied when the job was logged. With Xero or QuickBooks connected, issued invoices go there and a payment recorded there marks the invoice paid in SubClik. With GoCardless the invoice is collected by Direct Debit on its due date; with Stripe the customer can pay by card. The customer sees it all in their portal.
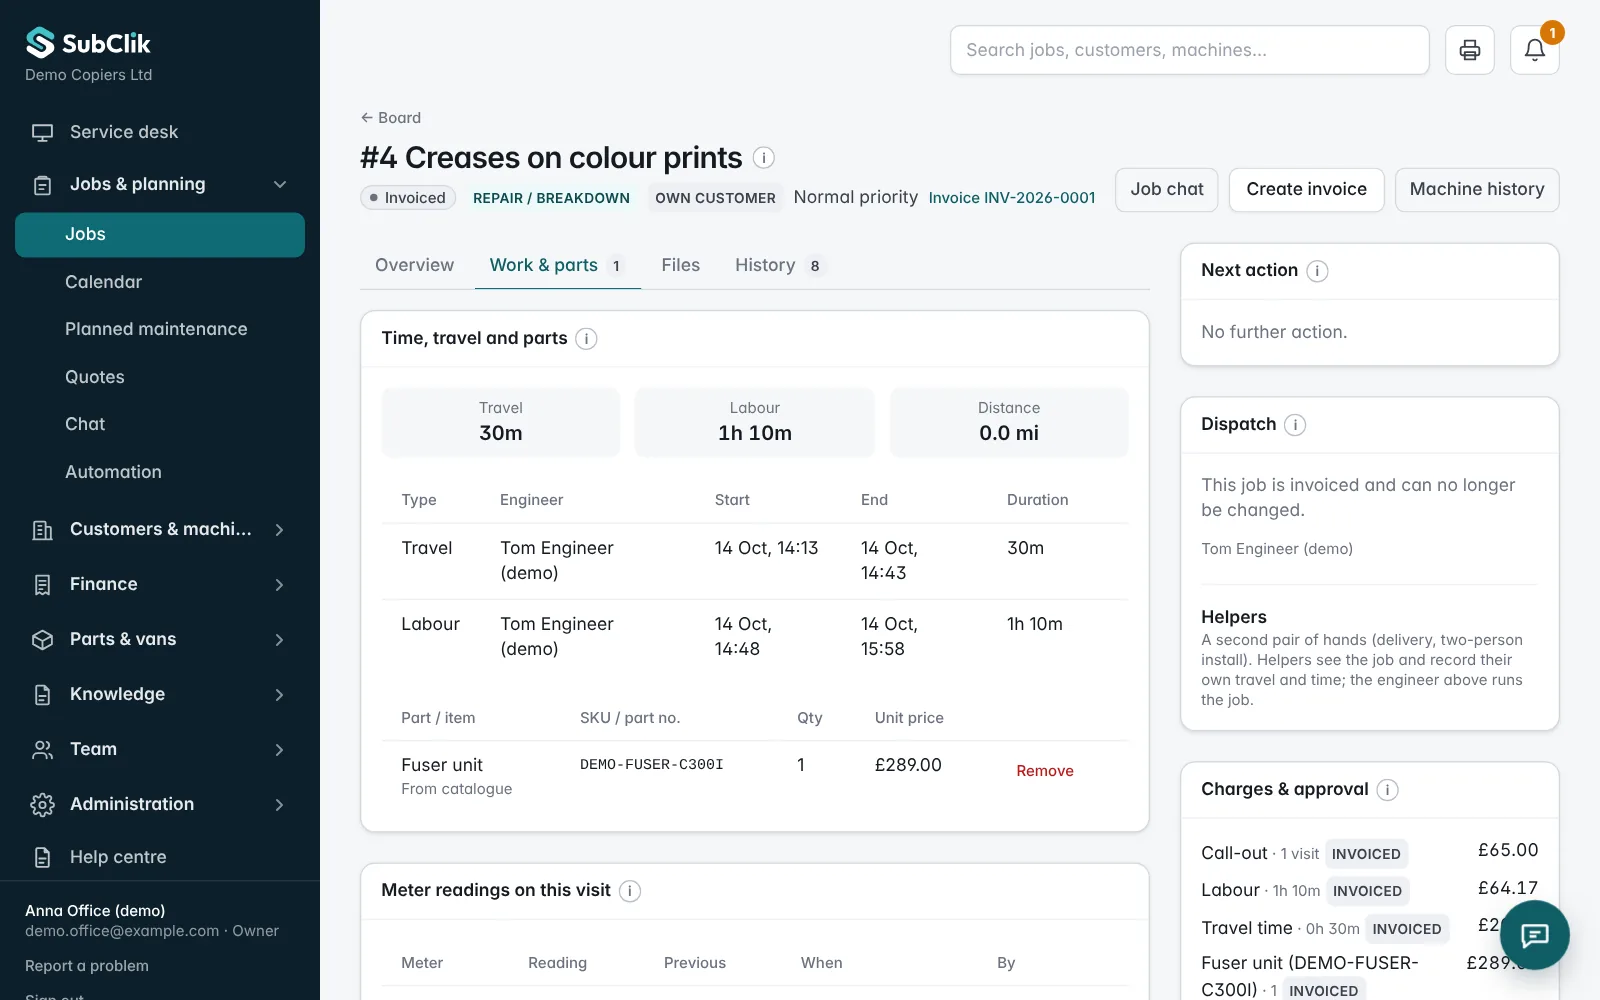
Time, travel and parts recorded on the job, ready for the invoice.
When the printers are monitored, the first steps happen by themselves.
With the SubClik Agent at a customer’s site, the office no longer waits for the phone to ring.
The printer reports
The SubClik Agent sees a service code, a memory error or repeated jams within a minute.
The job opens itself
With the machine, customer and code filled in, your priority and your engineer.
The right part goes in the van
The engineer sees what fixed the same code before, and which parts were used.
Toner goes out on time
Cartridges running out in the next three weeks are listed for sending, with an optional email to the customer.
- 07:42
Printer reports SC542
Ricoh IM C3000 · Canary Bank, 3rd floor
- 07:43
Job #2431 opened automatically
Priority high · given to Aisha, from your rule
- 07:43
Earlier fixes for SC542 attached
2 jobs in your firm fixed this code before
- 08:05
Aisha accepts on her phone
The customer has not called yet
Never two open jobs for the same machine.
Getting started with your company
- Step 1
Show us your workflow.
Tell us how your office handles calls, dispatch, contracts and billing.
- Step 2
Agree the setup.
Discuss users, job types, service prices, automation rules and any supported data import.
- Step 3
Connect your tools and printers.
Connect Xero or QuickBooks, GoCardless or Stripe, and calendars, and install the SubClik Agent at the customer sites you want monitored.
- Step 4
Start with a practical walkthrough.
Introduce the office and engineers to the tasks they will use.
You don’t need to create an account to send an enquiry.

Book a walkthrough for your team.
We’ll show the same job from the office and the engineer’s side, and talk through how your team works today.